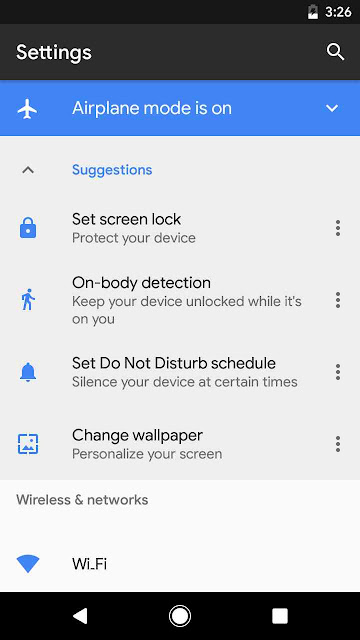
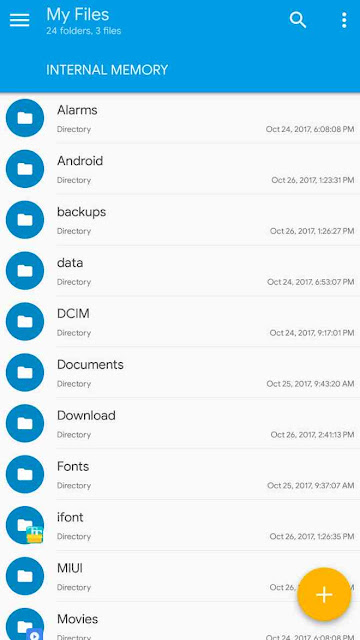
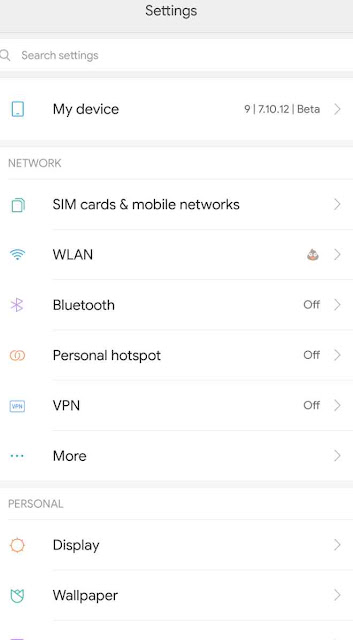
Today we know that whole Android Community is hustling and busting with latest updates on newly released Android 8.1 Oreo. As, the BETA program of Android Oreo 8.1 brought some of the significant changes over existing Android 8.0 Oreo. Also, you can make some of the primary changes, and you will get the new font with the developer preview. So, many of you have question that what is the new font so, the new font is “Google Sans” font. These fonts are extracted directly from the system images.
As they are repacked into the suitable files for installing. Now, you can install Android 8.1 Oreo with the Google Sans Fonts on your respective device. One thing I would like to clear is that new Google Sans Fonts is working on Android 5.0 Lollipop onwards as well as Android 8.0 Oreo. Also, the fonts are working fantastic on the Android such a Stock Android, Custom ROM’s you name it.
However, the Google Sans Fonts are compatible with MIUI 8 as well as MIUI 9. Also, those who are running Magisk and Substratum on their devices can also change their Lock screen fonts (now that’s something crazy you will love it). A big appreciation for the develops of Elmkzgirxp for enabling this modification.
Table of Contents
Installing Google Sans Fonts for Stock ROMS
Today we will show you how can you change font of any of the custom ROM whether it can be MIUI, ASOP, Lineage OS 14, Lineage OS 15 and Stock ROM. First you have to download a flash able zip file of new fonts that Google released in the Android Oreo 8.1. The font is available for all of the Custom ROM’s.


Method 1. Install Google Sans Font on MIUI 8 & MIUI 9 with TWRP
Install > Select & Flash the zip.

Method 2:- Install Google Sans Fonts on MIUI8 & MIUI9 without TWRP
7. After selecting the default theme back you won’t be able to see the different effects like bold, italics fonts due to bug on MIUI.

Note: Flashing the MIUI_TWRP_GoogleSans.zip using TWRP will fix this issue.
Method 3:- Install Google Sans Font on Stock/AOSP/Lineage OS based ROM’s with TWRP
–>Steps: How to Install Fonts
- Download TWRP_GoogleSans.zip
- TWRP > Backup > Select System
- Install > Select and Flash the zip
- Reboot > System
How to change Lock screen Font using Magisk Manager and Substratum?
Steps for Installation
- In the very first step you have to Flash Magisk_GoogleSans.zip using TWRP.
- Now in second step you have to install the Substratum Theme Engine.
- Now install Pixel+2+Lockscreen+Clock_1.0 APK.
- Open the Substratum APP and now apply the overlay.
- In the final step you have to Reboot the system. you have successfully install the Google Sans Font for your Lock screen.


